
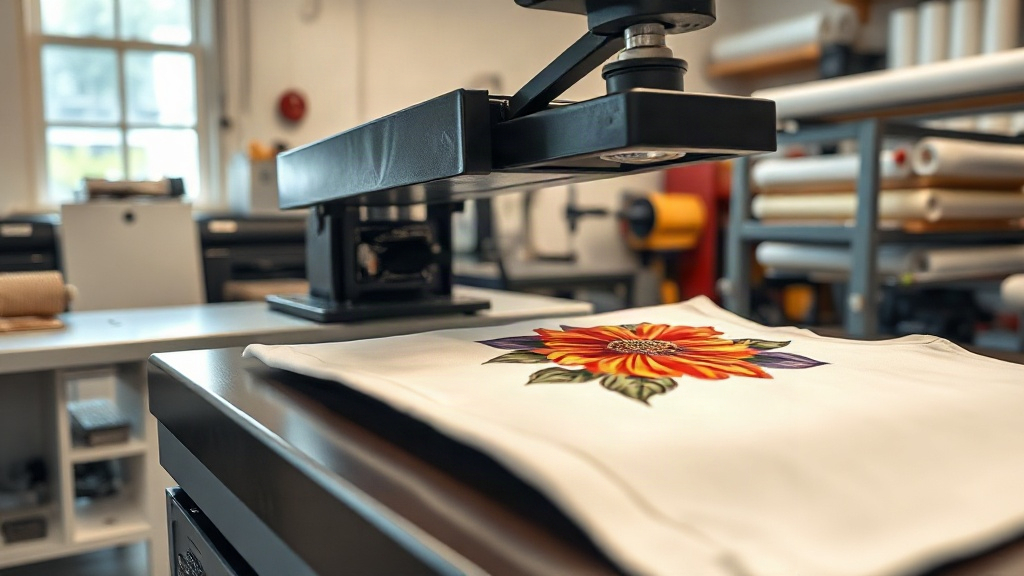
If you've been exploring custom apparel printing, you've likely encountered DTF Transfers. This innovative technology is rapidly becoming a favorite among crafters, small business owners, and printing professionals. But what exactly are DTF transfers, and why are they generating so much buzz? In this comprehensive guide, we'll dive deep into the world of DTF printing, covering everything from the basics to advanced tips. Whether you're a beginner or looking to expand your printing repertoire, this article will equip you with the knowledge to achieve stunning, long-lasting results.
What Are DTF Transfers?
DTF stands for Direct to Film. It's a printing method where your design is printed onto a special PET film using water-based pigments, then coated with a hot-melt adhesive powder. Once the powder is cured, the transfer is ready to be applied to fabric using a heat press. Unlike DTG (Direct to Garment) printing, which prints directly onto the fabric, DTF transfers allow you to print on a wide range of materials, including cotton, polyester, blends, and even treated nylon. This versatility is one of the main reasons DTF has gained immense popularity.
How DTF Transfers Work: A Step-by-Step Overview
Understanding the DTF process helps you appreciate its capabilities and troubleshoot issues. Here's a breakdown of the key steps:
- Design Preparation: Your artwork is prepared digitally, ensuring it's mirrored (unless using a printer with a mirroring function) and sized appropriately.
- Printing: A DTF printer lays down a layer of white ink (for opacity) followed by CMYK colors onto the PET film. Some printers also print a protective layer.
- Powdering: While the ink is still wet, a hot-melt adhesive powder is applied evenly over the printed area. Excess powder is shaken off.
- Curing: The film passes through a curing oven or under a heat source to melt the powder, creating a dry, tacky adhesive layer.
- Transfer: The cured film is placed on the fabric and pressed with a heat press at specific temperature, pressure, and time. After pressing, the film is peeled off (hot or cold peel, depending on the film type), leaving the design bonded to the fabric.
Why Choose DTF Transfers? Key Advantages
DTF transfers offer several compelling benefits that set them apart from other decoration methods. Let's explore the most significant ones.
1. Unmatched Versatility with Fabrics
One of the biggest advantages of DTF is its ability to adhere to a wide variety of fabrics. Unlike vinyl, which requires specific materials for different types, DTF works on cotton, polyester, cotton-poly blends, leather, and more. This makes it ideal for printing on diverse garments, from 100% cotton t-shirts to polyester sportswear.
2. Vibrant, Detailed Prints
DTF transfers can reproduce intricate details, gradients, and photographic images with exceptional clarity. The white ink layer ensures that colors pop even on dark garments, eliminating the need for separate white underbase like in screen printing.
3. Durability and Washability
When applied correctly, DTF transfers are highly durable. They resist cracking, peeling, and fading, even after multiple washes. The adhesive powder creates a strong bond that flexes with the fabric, making it suitable for stretchy materials.
4. Cost-Effective for Short Runs
For small batches or one-off designs, DTF is more economical than screen printing, which requires setup costs per color. With DTF, you can print a single transfer or hundreds without additional setup fees.
5. No Weeding Required
Unlike heat transfer vinyl (HTV), DTF transfers don't require weeding (removing excess material around the design). This saves significant time and labor, especially for complex designs.
DTF vs. Other Printing Methods
To help you decide if DTF is right for your project, let's compare it to other popular methods.
DTF vs. DTG
DTG prints directly onto the garment and works best on 100% cotton. It doesn't require a transfer film, but it can be slower and may not adhere well to synthetic fabrics. DTF, on the other hand, can be used on a broader range of materials and often produces more durable prints on polyester.
DTF vs. Vinyl (HTV)
HTV is great for simple, single-color designs and is easy to apply with a home iron or heat press. However, it requires weeding, and layering multiple colors can be time-consuming. DTF excels with complex, multi-color designs and doesn't need weeding.
DTF vs. Screen Printing
Screen printing is cost-effective for large orders but has setup costs and is limited in color complexity. DTF is more flexible for small runs and detailed artwork, with no per-color fees.
How to Apply DTF Transfers: Best Practices
Getting a flawless transfer requires attention to detail. Follow these steps for optimal results.
Step 1: Prepare Your Workspace and Materials
You'll need a heat press, the DTF transfer, the garment, and a protective sheet (like parchment paper or Teflon). Ensure your heat press is calibrated for accurate temperature.
Step 2: Pre-Press the Garment
Pre-pressing removes moisture and wrinkles, ensuring a smooth surface. Press for 5-10 seconds at the application temperature.
Step 3: Position the Transfer
Place the transfer with the design facing up (adhesive side down) onto the garment. Use heat-resistant tape if needed to secure it.
Step 4: Apply Heat and Pressure
Typical settings: 325°F (160°C) for 10-15 seconds with medium-heavy pressure. However, always check the film manufacturer's recommendations, as specifications vary.
Step 5: Peel and Finish
Peel the film either hot or cold as instructed. For hot peel, remove immediately after pressing; for cold peel, wait until it cools completely. Then, cover with a protective sheet and press again for 5-10 seconds to enhance durability.
Common Challenges and How to Overcome Them
Even experienced users face issues. Here are solutions to common DTF problems.
- Poor Adhesion: Ensure sufficient pressure, correct temperature, and proper powder application. Pre-press the garment to remove moisture.
- Cracking or Peeling: Usually caused by under-curing the powder or insufficient pressure. Increase curing time or pressure.
- Faded Colors: Might be due to incorrect printer settings or low-quality ink. Use high-quality supplies and follow printer guidelines.
- Film Sticking: Could be from too much powder or incomplete curing. Shake off excess powder thoroughly and ensure proper curing.
Tips for Long-Lasting DTF Prints
To ensure your DTF transfers withstand the test of time, follow these care tips:
- Wash garments inside out in cold water.
- Avoid fabric softeners and bleach.
- Tumble dry on low or hang dry.
- Iron on the reverse side, never directly on the print.
- Wait 24 hours after application before washing.
Frequently Asked Questions
How long do DTF transfers last?
With proper application and care, DTF transfers can last as long as the garment itself, often 50+ washes without significant fading or cracking.
Can I use DTF transfers on dark colors?
Absolutely! DTF transfers include a white ink base that makes colors vibrant on dark fabrics.
Do I need a special printer for DTF?
Yes, you need a DTF printer that uses DTF inks and film. However, you can also purchase pre-printed DTF transfers from suppliers.
What is the best temperature for DTF transfers?
Most DTF transfers apply at 325°F (160°C) for 10-15 seconds, but always check the instructions provided with your specific film.
Can I stretch DTF prints?
Yes, DTF transfers are flexible and can stretch with the fabric without cracking, especially if applied correctly.
DTF transfers are revolutionizing the custom apparel industry with their versatility, durability, and ease of use. By understanding the process and following best practices, you can achieve professional-quality results on a wide range of garments. Whether you're a hobbyist or a business owner, DTF printing opens up a world of creative possibilities.