
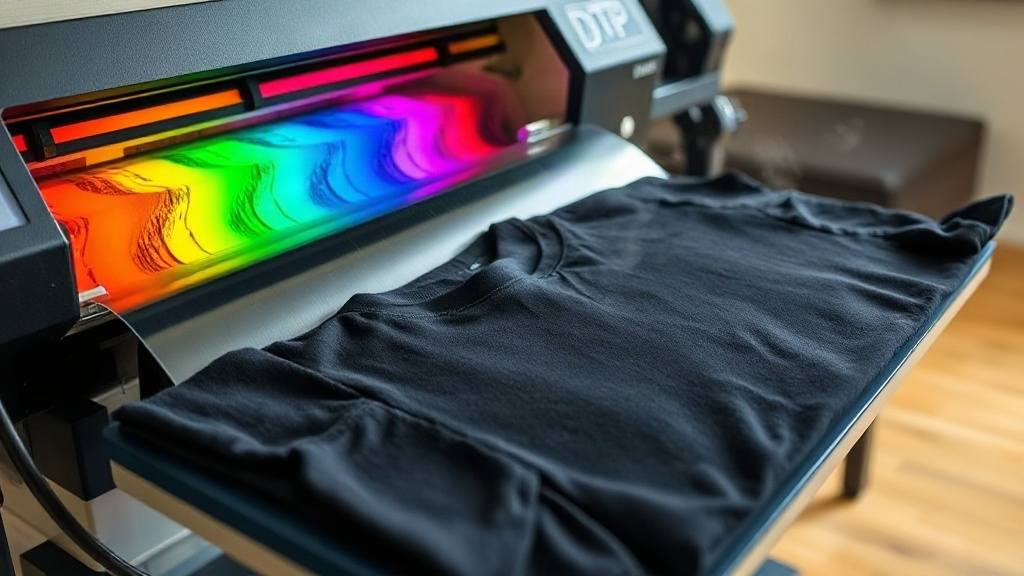
Imagine pressing a button and watching a full-color design transfer onto a dark cotton t-shirt in seconds. That's the magic of DTF printing, a technology that's quickly become a favorite among crafters, small business owners, and anyone who loves custom apparel. Unlike traditional methods that require separate plates or special fabrics, DTF (Direct to Film) printing lets you print intricate designs onto a film, then heat-press them onto almost any material. Whether you're making team jerseys, personalized gifts, or a new clothing line, DTF printing offers a flexible, cost-effective solution. In this guide, I'll walk you through everything you need to know to get started, from the basic process to pro tips I've learned from my own trials and errors.
What Exactly Is DTF Printing?
DTF printing stands for Direct to Film. It's a digital printing method where your design is printed onto a special PET film using a DTF printer and DTF inks. After printing, a hot-melt adhesive powder is applied to the wet ink, and the film is cured. The resulting transfer can be stored and later applied to fabric using a heat press. The magic lies in the adhesive: when heated, it bonds the ink to the fabric, creating a durable, stretchable print that feels soft to the touch.
Unlike DTG (Direct to Garment) printing, which prints directly onto the fabric, DTF printing separates the printing and application steps. This allows you to print on a wide range of materials, including cotton, polyester, blends, and even leather. It also means you can produce transfers in bulk and apply them on demand.
Why DTF Printing Is Gaining Popularity
When I first heard about DTF printing, I was skeptical. I'd tried heat transfer vinyl (HTV) and DTG, but each had limitations. HTV was great for simple shapes but a nightmare for detailed gradients. DTG produced soft prints but only on 100% cotton and often required pretreating. DTF printing solved these issues. Here's why it's winning over so many people:
- No fabric restrictions: You can apply DTF transfers to cotton, polyester, nylon, leather, and more. Even dark colors and synthetic blends work beautifully.
- Vibrant colors: DTF inks are pigment-based and produce bright, opaque colors without needing a white underbase. This means your designs pop on any background.
- Soft feel: Unlike some transfers that feel like plastic, DTF prints have a soft, flexible hand. They stretch with the fabric and won't crack easily.
- Cost-effective for small batches: No minimums, no setup fees. You can print one or one hundred transfers at a low cost per unit.
- Durability: When applied correctly, DTF prints withstand dozens of washes without fading or peeling.
How DTF Printing Works: Step by Step
Let's break down the process. You'll need a few key pieces of equipment: a DTF printer (or access to one), DTF film, DTF ink, hot-melt adhesive powder, and a heat press. Here's the workflow:
1. Design Preparation
Start with your artwork in a digital format. DTF printing handles full-color images, gradients, and fine details with ease. Just ensure your design is mirrored (flipped horizontally) before printing, because the film will be placed face-down on the fabric. Most DTF printers come with RIP software that automatically mirrors the image and manages color profiles.
2. Printing
Load the DTF film into the printer. The printer lays down a layer of white ink first (if your design has white areas), followed by the color inks. This white layer acts as a base to make colors opaque. The wet ink sits on the film, waiting for the powder.
3. Powder Application
While the ink is still wet, you sprinkle hot-melt adhesive powder over the print. The powder sticks to the ink. Then, you shake off the excess. This step is crucial: too much powder can cause a rough texture, too little can lead to poor adhesion.
4. Curing
Place the film in a curing oven or under a heat source to melt the powder. The powder turns into a clear adhesive layer. Curing typically takes 2-3 minutes at around 160°C (320°F). Once cured, the transfer is ready to use or store.
5. Heat Pressing
Set your heat press to the recommended temperature (usually 150-160°C or 300-320°F) and pressure (medium to firm). Place the transfer face-down on the fabric, cover with a protective sheet, and press for 10-15 seconds. Then, peel the film off while it's still hot (or cold, depending on the film type). The design is now permanently bonded to the fabric.
Choosing the Right DTF Supplies
Not all DTF supplies are created equal. Here's what to look for:
- Printer: You can modify an Epson printer with a DTF ink system, or buy a dedicated DTF printer. Dedicated printers handle white ink circulation better, reducing clogs.
- Ink: Use high-quality DTF inks designed for your printer. Cheap inks can clog nozzles and produce dull colors.
- Film: DTF film comes in sheets or rolls. Double-sided matte film is common. Ensure it's compatible with your printer.
- Powder: Hot-melt adhesive powder comes in fine and coarse grades. Fine powder gives a smoother finish, while coarse powder provides stronger bond for stretchy fabrics.
- Heat Press: A clamshell or swing-away press with consistent temperature and pressure is essential. Don't skimp here; uneven pressure ruins transfers.
Common DTF Printing Mistakes and How to Avoid Them
I've made plenty of mistakes so you don't have to. Here are the most common pitfalls and their fixes:
- Not mirroring the image: Always flip your design horizontally. If you forget, the text will be backwards.
- Insufficient powder: If the powder doesn't fully cover the ink, the transfer won't adhere properly. Aim for an even coat.
- Over-curing: Curing too long or at too high a temperature can burn the powder, causing a yellow tint and weak bond. Follow the manufacturer's guidelines.
- Wrong pressure: Too little pressure means the design won't stick; too much pressure can cause the ink to spread and blur. Test on scrap fabric first.
- Peeling too early or too late: Some films require hot peel, others cold peel. Check your film's instructions. Peeling at the wrong temperature can ruin the print.
Applications of DTF Printing
DTF printing isn't just for t-shirts. Its versatility opens up a world of possibilities:
- Custom apparel: T-shirts, hoodies, jeans, jackets, and even shoes.
- Accessories: Tote bags, hats, and backpacks.
- Home decor: Pillows, blankets, and canvas prints.
- Promotional items: Company logos on uniforms, event merchandise.
- Small business: Perfect for print-on-demand and boutique clothing lines.
Is DTF Printing Right for You?
If you're a crafter who wants to offer vibrant, durable custom items without investing in expensive screen printing equipment, DTF printing is a fantastic option. It's also ideal for small businesses that need short runs of diverse designs. However, if you only print on 100% cotton and want the absolute softest feel, DTG might still be a contender. But for versatility and ease, DTF is hard to beat.
Starting with DTF printing does require an upfront investment in a printer, supplies, and a heat press. But once you're set up, the cost per print is low, and the creative freedom is immense. I recommend starting with a converted Epson printer and a basic heat press to test the waters. As you grow, you can upgrade to a dedicated DTF printer and automated powder shaker.
Frequently Asked Questions
How long do DTF prints last?
With proper application and care, DTF prints can last 50+ washes without significant fading or cracking. Always wash inside out in cold water and avoid harsh detergents.
Can I use DTF on 100% polyester?
Absolutely. DTF printing works great on polyester and blends. The low-temperature application (compared to DTG) prevents dye migration, but for dark polyesters, use a low-bleed film or a barrier layer.
What's the difference between DTF and DTG?
DTF involves printing on a film and transferring, while DTG prints directly onto the garment. DTF works on more fabrics and produces more vibrant colors on dark shirts, but DTG can be softer on 100% cotton.
Do I need a special printer for DTF?
You can convert an Epson printer with DTF ink and a RIP software, or buy a dedicated DTF printer. Dedicated printers are easier to maintain but cost more upfront.
How do I store DTF transfers?
Store them in a cool, dry place away from direct sunlight. Keep them flat or rolled, and avoid folding. Properly stored transfers can last for months.