
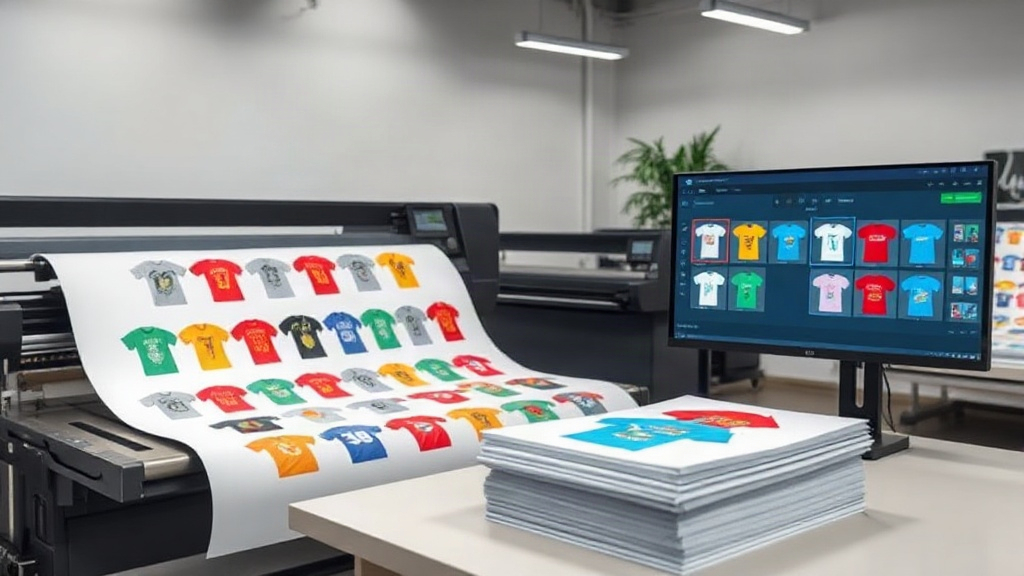
If you're in the custom apparel game, you've probably heard the term DTF tossed around. Direct-to-film printing has exploded in popularity, and for good reason: it's versatile, durable, and works on a huge range of fabrics. But here's the thing: printing individual designs one by one can eat up your time and profit margins. That's where a DTF gangsheet builder comes in. This tool lets you combine multiple designs into a single, efficient print job, saving you hours and dollars. In this post, we'll dive deep into what a gangsheet builder is, why it matters, and how to use one like a pro. Whether you're a small shop owner or a seasoned print veteran, you'll walk away with actionable strategies to level up your DTF workflow.
What Exactly Is a DTF Gangsheet Builder?
Let's start with the basics. A gangsheet is essentially a large sheet of DTF film that contains multiple designs arranged tightly together. Instead of printing each design on its own sheet, you "gang" them up on one sheet. A DTF gangsheet builder is the software or online tool that helps you arrange these designs efficiently. Think of it as a digital puzzle solver: you upload your artwork, and the builder automatically nests the images to minimize wasted space. The result? You use less film, less ink, and less time per print.
Some builders are standalone programs, while others are web-based platforms. They often include features like auto-nesting, size adjustment, and even color management. The goal is simple: maximize your yield from every sheet.
Why You Should Be Using a Gangsheet Builder
If you're still printing one design at a time, you're leaving money on the table. Here's why a DTF gangsheet builder should be part of your toolkit:
- Cost savings: Film and ink are expensive. By nesting designs, you can reduce waste by 30-50% or more. That adds up fast, especially for high-volume shops.
- Time efficiency: Loading and unloading a printer for each design is slow. With gangsheets, you print once and cut later. You can produce dozens of transfers in a single run.
- Consistency: Printing all designs on the same sheet means they go through the same curing and powdering process. That leads to more uniform results.
- Scalability: When orders spike, gangsheets let you keep up without hiring extra hands. You can prep a full sheet in minutes and let the printer do the rest.
Still not convinced? Let's look at a real-world example. A small Etsy shop selling custom tees used to print each order individually. After switching to a gangsheet builder, they cut their film costs by 40% and reduced printing time by half. That's more profit and happier customers.
How to Use a DTF Gangsheet Builder: Step by Step
Ready to give it a try? Here's a straightforward process that works with most builders.
1. Prepare Your Artwork
Before you even open the builder, make sure your designs are in the right format. Most builders accept PNG files with transparent backgrounds. Check that your images are high resolution (300 DPI is standard) and sized appropriately. If you're printing on dark garments, you'll need a white underbase, but many DTF printers handle that automatically. Still, it's good to know your printer's requirements.
2. Choose Your Sheet Size
DTF film comes in various widths, typically 13, 17, or 24 inches. The length can be custom, but most printers have a maximum. Decide on your sheet dimensions based on your printer and the number of designs you want to include. A DTF gangsheet builder will let you set the canvas size, so you can match it to your film roll.
3. Upload and Arrange Designs
This is where the magic happens. Upload your PNGs into the builder. Most tools have an auto-arrange feature that nests the designs for optimal use of space. You can also manually drag and drop to fine-tune the layout. Leave a small gap (about 0.1-0.2 inches) between designs to make cutting easier. If you're using a cutting machine, consider adding registration marks.
4. Check Ink Coverage and Color
Some builders let you preview ink usage. Keep in mind that designs with heavy ink coverage will use more resources. If you're mixing light and dark designs, try to balance them across the sheet. Also, ensure that colors are consistent, especially if you're printing the same design in different sizes.
5. Export and Print
Once you're happy with the layout, export the file as a high-resolution PNG or PDF. Then send it to your DTF printer. After printing, you'll apply hot-melt powder and cure the sheet. Finally, cut out each design. A gangsheet builder often includes cut lines or you can add them manually.
Pro Tips for Maximizing Your Gangsheets
You've got the basics down, but here are some advanced tactics to squeeze even more value from your DTF gangsheet builder:
- Group by size: If you're printing the same design in multiple sizes, place them together. This makes cutting and sorting easier.
- Use every inch: Rotate designs to fill gaps. Some builders have a rotate tool; use it to fit odd-shaped artwork.
- Plan for waste: Leave a margin around the edges. The last thing you want is a design too close to the edge and getting cut off.
- Save templates: If you frequently print certain combinations, save the layout as a template. Next time, you can load it and just swap out designs.
- Test small: Before committing to a full sheet, do a test print with a few designs to check color and alignment.
One shop owner I spoke with uses a DTF gangsheet builder to create "themed sheets" for holidays. She groups Valentine's Day designs on one sheet, St. Patrick's Day on another, and so on. When orders come in, she just cuts the needed transfer. It's a huge time-saver.
Common Mistakes to Avoid
Even with a great tool, it's easy to slip up. Watch out for these pitfalls:
- Overcrowding: Cramming too many designs can lead to cutting errors and ink bleeding. Leave breathing room.
- Inconsistent sizing: Double-check that all designs are scaled correctly. A tiny logo next to a large one might look fine on screen but print poorly.
- Forgetting the white layer: If your printer doesn't auto-generate white underbase, you'll need to add it manually. Otherwise, colors will be dull on dark shirts.
- Ignoring film type: Not all DTF film is created equal. Some are better for fine details, others for bold blocks. Match your film to your designs.
Frequently Asked Questions
What is the best DTF gangsheet builder for beginners?
For those just starting out, look for a builder with a clean interface and auto-nesting features. Many online options offer free trials, so you can test a few before committing. The key is to find one that matches your printer's specifications and your workflow.
Can I use a gangsheet builder with any DTF printer?
Most builders are compatible with standard DTF printers, but always check the maximum sheet size and file format requirements. Some printers come with proprietary software, but third-party builders often work just as well, if not better.
How much can I really save by using a gangsheet?
Savings vary based on your designs and film usage, but many users report cutting film costs by 30% or more. The time savings are even more significant: you can print a full sheet in the time it used to take for a few individual designs.
Do I need special software to create a gangsheet?
Not necessarily. While dedicated DTF gangsheet builder tools make the process easier, you can manually arrange designs in graphic software like Photoshop or Illustrator. However, dedicated builders automate nesting and reduce errors, so they're worth the investment.
What file format should I use for gangsheet designs?
PNG with transparent background is the most common and reliable format. Ensure your files are at 300 DPI for crisp prints. Some builders also accept PDF or TIFF, but PNG is widely supported.
There you have it: a comprehensive guide to using a DTF gangsheet builder to streamline your printing. Give it a try, and you'll wonder how you ever managed without one.