
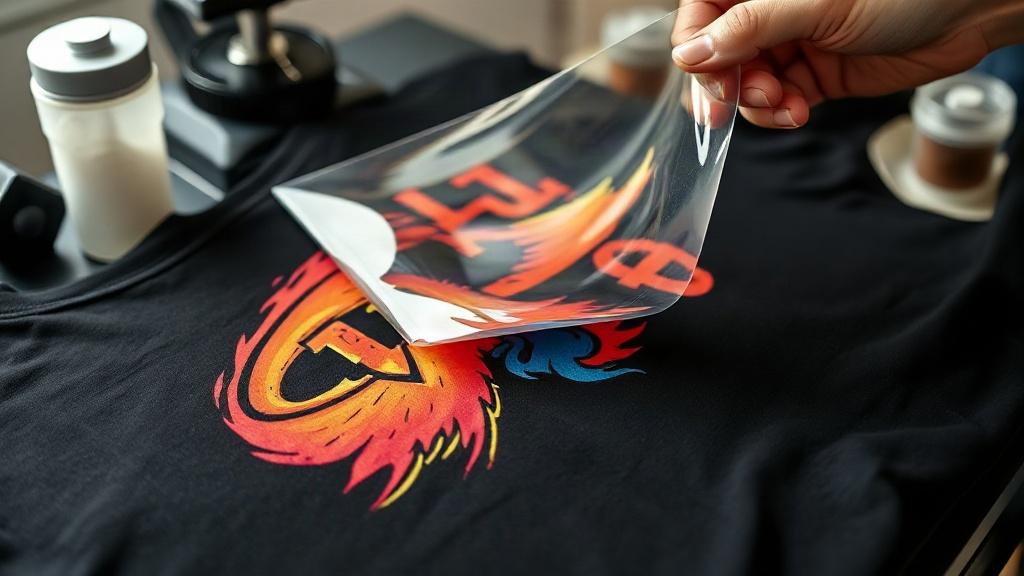
When you first hear about DTF printing, it might sound like just another printing acronym. But for anyone who has spent hours wrestling with vinyl cutters or clogged screen printing screens, DTF (Direct to Film) opens up a world of possibilities. Imagine printing a full-color design on a special film, dusting it with adhesive powder, and then heat-pressing it onto a t-shirt, hoodie, or even a canvas tote. The result? A soft, stretchable, and remarkably durable print that holds up wash after wash. In this guide, I will share what I have learned from countless trials (and a few errors) so you can skip the frustration and start creating professional-looking apparel right away.
What Exactly Is DTF Printing?
At its core, DTF printing is a digital printing method where your design is printed onto a PET film using specialized pigment inks. While the ink is still wet, a thermoplastic powder is applied, which acts as the adhesive. Once the powder is melted, the transfer is ready to be pressed onto fabric. Unlike DTG (Direct to Garment), which requires pre-treatment and works best on 100% cotton, DTF adheres to a wide range of materials: cotton, polyester, blends, nylon, and even leather. That versatility is why many small print shops have adopted DTF as their go-to solution for custom orders.
The DTF Printing Process Step by Step
1. Designing and Preparing Your Artwork
Start with a high-resolution image (300 DPI is ideal). Remember that DTF transfers are printed in reverse, so your design will need to be mirrored. Most RIP software handles this automatically, but it is always worth double-checking before you hit print. Also, consider the fabric color: DTF inks are opaque, but a white underbase is typically printed first to ensure vibrant colors on dark garments.
2. Printing onto PET Film
Load your DTF film into a compatible printer, usually an converted Epson or Ricoh model. The film has a coated side that receives the ink. Printing on the wrong side will result in a smeared mess. I always keep a small piece of tape on the non-printing side of my film rolls to avoid confusion. The printer lays down white ink first, then color, then a final white layer. This sandwich structure gives the transfer its strength and opacity.
3. Applying Adhesive Powder
While the ink is still wet, sprinkle the thermoplastic powder evenly over the printed area. Gently shake off the excess. You can use a powder shaker for more control. The goal is a thin, uniform coating. Too much powder leads to a stiff feel; too little means poor adhesion. I find that a quick tap on the back of the film helps distribute the powder into all the fine details.
4. Curing the Powder
Place the film in a heat press or oven set to around 320°F (160°C) for 2-3 minutes. The powder will melt and turn glossy. This step is crucial: undercured powder will wash off, while overcured film can become brittle. I recommend using a infrared thermometer to check that the powder reaches the right temperature. Once cured, the transfer can be stored for weeks in a cool, dry place.
5. Heat Pressing onto Fabric
Set your heat press to 320°F (160°C) with medium pressure. Pre-press the garment for a few seconds to remove moisture. Place the transfer on the fabric, cover it with a Teflon sheet or parchment paper, and press for 15-20 seconds. Let it cool completely before peeling the film. For a matte finish, peel while hot; for a glossy finish, wait until cold. I prefer the cold peel because it gives a smoother, more integrated look.
Why Choose DTF Over Other Printing Methods?
If you are still on the fence, consider these advantages:
- No weeding or cutting: Unlike vinyl, there is no tedious weeding process. You print, powder, and press.
- Unlimited colors: DTF can reproduce gradients, photographs, and fine details without extra cost.
- Fabric versatility: Works on cotton, polyester, blends, and even treated leather.
- Durability: When done correctly, DTF prints outlast vinyl and even some screen prints, resisting cracking and fading.
- Low startup cost: You do not need expensive screens or pre-treatment machines.
Common Pitfalls and How to Avoid Them
Even seasoned printers run into issues. Here are the most common ones and my fixes:
- Ink smudging: Usually caused by printing on the wrong side of the film or using too much ink. Check your film orientation and reduce ink density if needed.
- Powder not sticking: If the ink is too dry, powder will not adhere. Work quickly and consider increasing humidity in your workspace.
- Peeling after wash: This often stems from insufficient pressure or temperature during pressing. Invest in a quality heat press with accurate temperature control.
- Stiff prints: Too much powder or overcuring can make the transfer feel like plastic. Use a fine powder and cure just until glossy.
Choosing the Right Supplies for DTF Printing
Not all films and powders are created equal. I have tested many brands, and I can tell you that cheaper films often cause jamming or poor ink absorption. Look for films that are specifically designed for DTF printing, with a consistent coating. For powder, a 80-100 micron particle size works well for most applications. Your ink choice matters too: use pigment inks formulated for DTF, as regular DTG inks may not have the same opacity. And do not skimp on the heat press; a reliable press with even pressure is your best friend.
Frequently Asked Questions About DTF Printing
Can I use DTF on 100% polyester?
Absolutely. DTF transfers adhere well to polyester, but you need to lower the pressing temperature to around 280°F (140°C) to avoid dye migration. Also, use a low-migrate powder if you are working with dark polyester.
How long does a DTF transfer last?
With proper application and care, a DTF print can last 50+ washes without significant fading or cracking. Turn the garment inside out and wash in cold water to maximize longevity.
Do I need a special printer for DTF?
You can convert a standard inkjet printer (like Epson EcoTank) to use DTF inks, but you will need a RIP software to manage white ink. Dedicated DTF printers are also available if you plan to scale up.
What is the difference between DTF and DTG?
DTF uses a transfer film, while DTG prints directly onto the garment. DTF works on more fabrics and does not require pre-treatment, but DTG can be more cost-effective for 100% cotton in high volumes.
Can I stretch a DTF print?
Yes, DTF prints are stretchable, making them ideal for athletic wear and stretchy fabrics. Just ensure the powder is fully cured and the press pressure is adequate.
Final Thoughts
DTF printing has democratized custom apparel. Whether you are a hobbyist or a small business owner, the ability to produce vibrant, durable transfers in-house is a game-changer. Start with small test prints, dial in your settings, and soon you will be cranking out professional-quality gear. For supplies and more tips, visit dtfshoply.com.