The DTF printing machine is revolutionizing the custom apparel industry by providing a seamless and efficient way to create high-quality prints. In this guide, we delve into the essentials of DTF printing setup, equipping you with the knowledge to harness this innovative technology effectively. From understanding DTF printing equipment to mastering the DTF transfer process, our comprehensive approach ensures that entrepreneurs and print shop owners can thrive in their endeavors. You’ll learn how to set up your DTF printer and prepare captivating designs that resonate with your audience. Join us as we navigate through the intricacies of Direct to Film printing to help you achieve exceptional results.
Often referred to as the Direct to Film printing system, a DTF printing machine has become a game-changer for those in custom printing and textiles. This advanced technology allows for vibrant and durable prints that can easily bond to various fabric types. In this exploration of DTF printing, we’ll discuss everything from the necessary printing equipment to a detailed guide on how to properly and efficiently set up a DTF printer. By understanding the nuances of the DTF transfer process, you can maximize your production potential and elevate your print quality to new heights. Get ready to discover the possibilities that come with investing in this forward-thinking printing solution.
Essential DTF Printing Setup Equipment
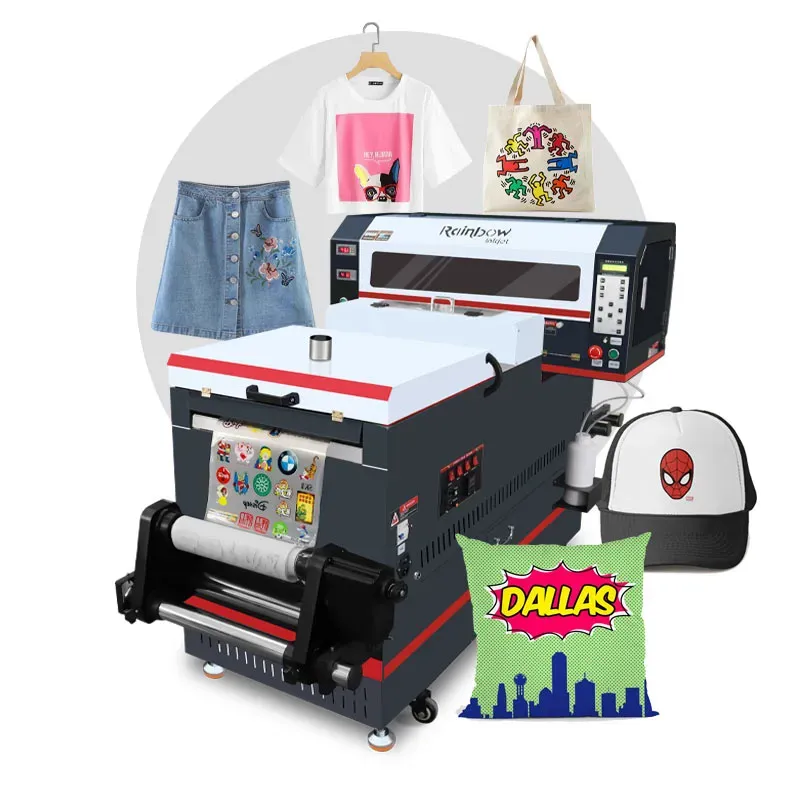
To embark on your DTF printing journey, assembling the right equipment is paramount. The core element of your DTF printing setup is, of course, your DTF printer. This printer should be specifically designed for the Direct to Film process, utilizing specialized inks that adhere to various fabrics seamlessly. Investing in a high-quality machine will not only enhance your print quality but also improve your efficiency in producing vibrant designs.
Equally important is your choice of transfer film, which directly influences the outcome of your prints. Opt for transfer films that are coated to optimize ink absorption, ensuring that colors appear vivid and well-defined. Alongside this, the right adhesive powder is essential for maintaining print durability on fabrics. The success of your DTF transfer process hinges on these fundamental items, making it necessary to procure quality supplies as a first step.
Configuring Your DTF Printing Machine
Once you have gathered your DTF printing equipment, the next step is to configure your DTF printer for optimal performance. Begin by carefully following the manufacturer’s instructions to install the printer drivers properly. This ensures that your computer communicates effectively with the printer. Adjustments may also be necessary regarding resolution, ink density, and color profiles, as DTF printing requires specific parameters to achieve vibrant and accurate results.
Setting your printer parameters correctly can make a significant difference in the final print quality. Take time to explore your printer’s settings and ensure they are tailored to DTF printing. Incorrect settings might lead to color discrepancies or poor quality prints, undermining the potential of your new equipment. A meticulous setup will lay the foundation for successful and high-quality outputs in your printing endeavors.
Design Preparation for DTF Printing
Creating your design is a crucial part of the DTF printing setup process. Utilize professional graphic design software like Adobe Photoshop to create eye-catching artwork that speaks to your brand or customer’s needs. Ensure the design fits within the dimensions of the print area on the chosen apparel. This attention to detail in the design phase will save time and reduce errors during the printing process.
A commonly overlooked aspect of DTF printing is the necessity of mirroring your design before printing. The DTF transfer process relies on the image being flipped to ensure it appears correctly when applied to the garment. This simple step can be the difference between a professional finish and a disappointing result. Make sure to double-check your design orientation to avoid wasted materials and time.
Executing the DTF Print Process
Loading your transfer film into the DTF printer correctly is vital for a successful print. Always refer to the manufacturer’s guidelines for specific instructions on how to load the film to ensure precise alignment. Once the film is in place, monitor the printing closely; watch out for ink blotches or misalignments that could compromise your work.
As the design prints onto the film, be proactive about addressing any arising issues. Quick intervention during the printing process can help prevent extensive waste and ensure a high-quality print is achieved. Your attention during this critical stage will set the stage for a successful transfer to the final product.
Applying Adhesive Powder Effectively
After printing your design, the next step in the DTF transfer process is to apply adhesive powder while the ink remains wet. This powder plays a vital role in bonding the ink to the fabric during the heat transfer application. Lightly sprinkle the powder over your printed film, ensuring an even and thorough coating that adequately covers the design.
It’s equally important to remove any excess adhesive powder by gently shaking the film. Clumps of powder can lead to a subpar finish, impacting the vibrancy and adherence of your print to the garment. Achieving a perfect balance with the adhesive is critical to producing high-quality apparel that meets both aesthetic and durability standards.
Mastering the Heat Press Transfer Technique
The heat press transfer phase is where your DTF printing truly comes to life. Preheat your heat press to the recommended temperature settings outlined by the adhesive powder you are using. This step ensures that when you’re ready to apply your design, the heat press operates effectively to transfer the ink onto the fabric without scorching.
Placement of the coated film on the garment is crucial in this step. Position the film ink-side down, making sure it aligns correctly with the fabric. When applying the pressure, follow the recommended guidelines for both pressure and duration to facilitate optimal transfer. Attention to timing here can prevent damage and ensure a high-quality finish.
Frequently Asked Questions
What is a DTF Printing Machine and how does it work?
A DTF Printing Machine, or Direct to Film printing machine, allows you to create high-quality prints directly onto transfer film. The machine prints your design onto special film, which is then coated with adhesive powder before being heat pressed onto garments or fabrics, creating vibrant, durable prints.
How do I properly set up my DTF Printing Machine?
To set up your DTF Printing Machine, ensure you have all necessary DTF printing equipment, including a compatible printer, transfer film, adhesive powder, and a heat press machine. Follow the manufacturer’s instructions to install drivers and configure your printer settings for DTF printing before proceeding to prepare your designs.
What equipment is essential for DTF printing setup?
Essential DTF printing equipment includes a DTF printer, high-quality transfer film, adhesive powder, a heat press machine, and a computer with graphic design software. Having the right tools ensures successful execution of the DTF transfer process.
Can I use any printer for DTF Printing?
No, not every printer is suitable for DTF printing. You need a printer designed for DTF printing that uses specialized inks. Ensure your DTF printing setup includes a compatible printer for optimal results.
What steps should I follow in the DTF transfer process?
In the DTF transfer process, first, print your design onto transfer film, then apply adhesive powder to the wet ink. Cure the powder with heat, then use a heat press to transfer the design onto your garment. Finally, allow the film to cool before peeling it off.
How can I ensure high-quality prints with my DTF Printer?
To achieve high-quality prints with your DTF Printer, make sure to configure the printer settings correctly, use quality transfer film and adhesive powder, and conduct test prints to check color accuracy before running bulk orders.
| Step | Description |
|---|---|
| 1. Gather Necessary Equipment | Ensure you have a DTF printer, transfer film, adhesive powder, heat press machine, and design software. |
| 2. Configure the Printer | Install drivers and set printer parameters for optimal DTF printing. |
| 3. Prepare Your Design | Create and flip your design for printing. |
| 4. Print the Design | Load the film and monitor the printing process. |
| 5. Apply Adhesive Powder | Sprinkle powder on wet ink and remove excess powder for adhesion. |
| 6. Cure the Adhesive | Use heat to cure the adhesive for effective bonding. |
| 7. Heat Press Transfer | Preheat press and transfer design onto garment. |
| 8. Remove the Film | Let garment cool and peel film away. |
| 9. Final Press | Optional final press for a polished look. |
Summary
DTF Printing Machine is essential for any print shop aiming to produce high-quality designs for custom apparel. This detailed guide outlines the crucial steps to set up your DTF printing machine effectively, from gathering necessary equipment to performing a final press on your printed designs. By following these steps, you can ensure that your prints achieve exceptional vibrancy and durability, making your products stand out in a competitive market. Moreover, understanding the nuances of each stage—from preparation to execution—will empower you to create stunning designs that meet your clients’ expectations. For anyone looking to excel in DTF printing, this setup guide is a valuable resource that highlights the importance of quality materials and precise processes.